Introduction
A while ago I found an Edimax Edigreen AI-2002W for sale at my local electronics store. The thing only cost 15€ and was advertised as having 7 sensors and being “smart” in the sense that it connects to your Wi-Fi. “What a good deal!” I thought to myself, “I bet I can integrate this into my Home Assistant setup and make things super-smart!“. How wrong I was.
The initial user experience.
When I first unboxed the thing, turned it on and set it up, I was impressed by the number of metrics I was able to capture. However, I was unable to get the sensor data using any way other than their official app. Home Assistant also didn’t support the thing out of the box.
Some snooping later…
Using nmap I tried to find the IP address of the device to find out if it has any open ports that can be utilized in order to get data out of this device. I didn’t get far. I went further and tried listening for traffic between the sensor and my phone using mitmproxy, only to discover that my phone wasn’t directly communicating with the sensor, but instead with a server in Taiwan! “What the hell?”, I thought to myself.
Opening it up

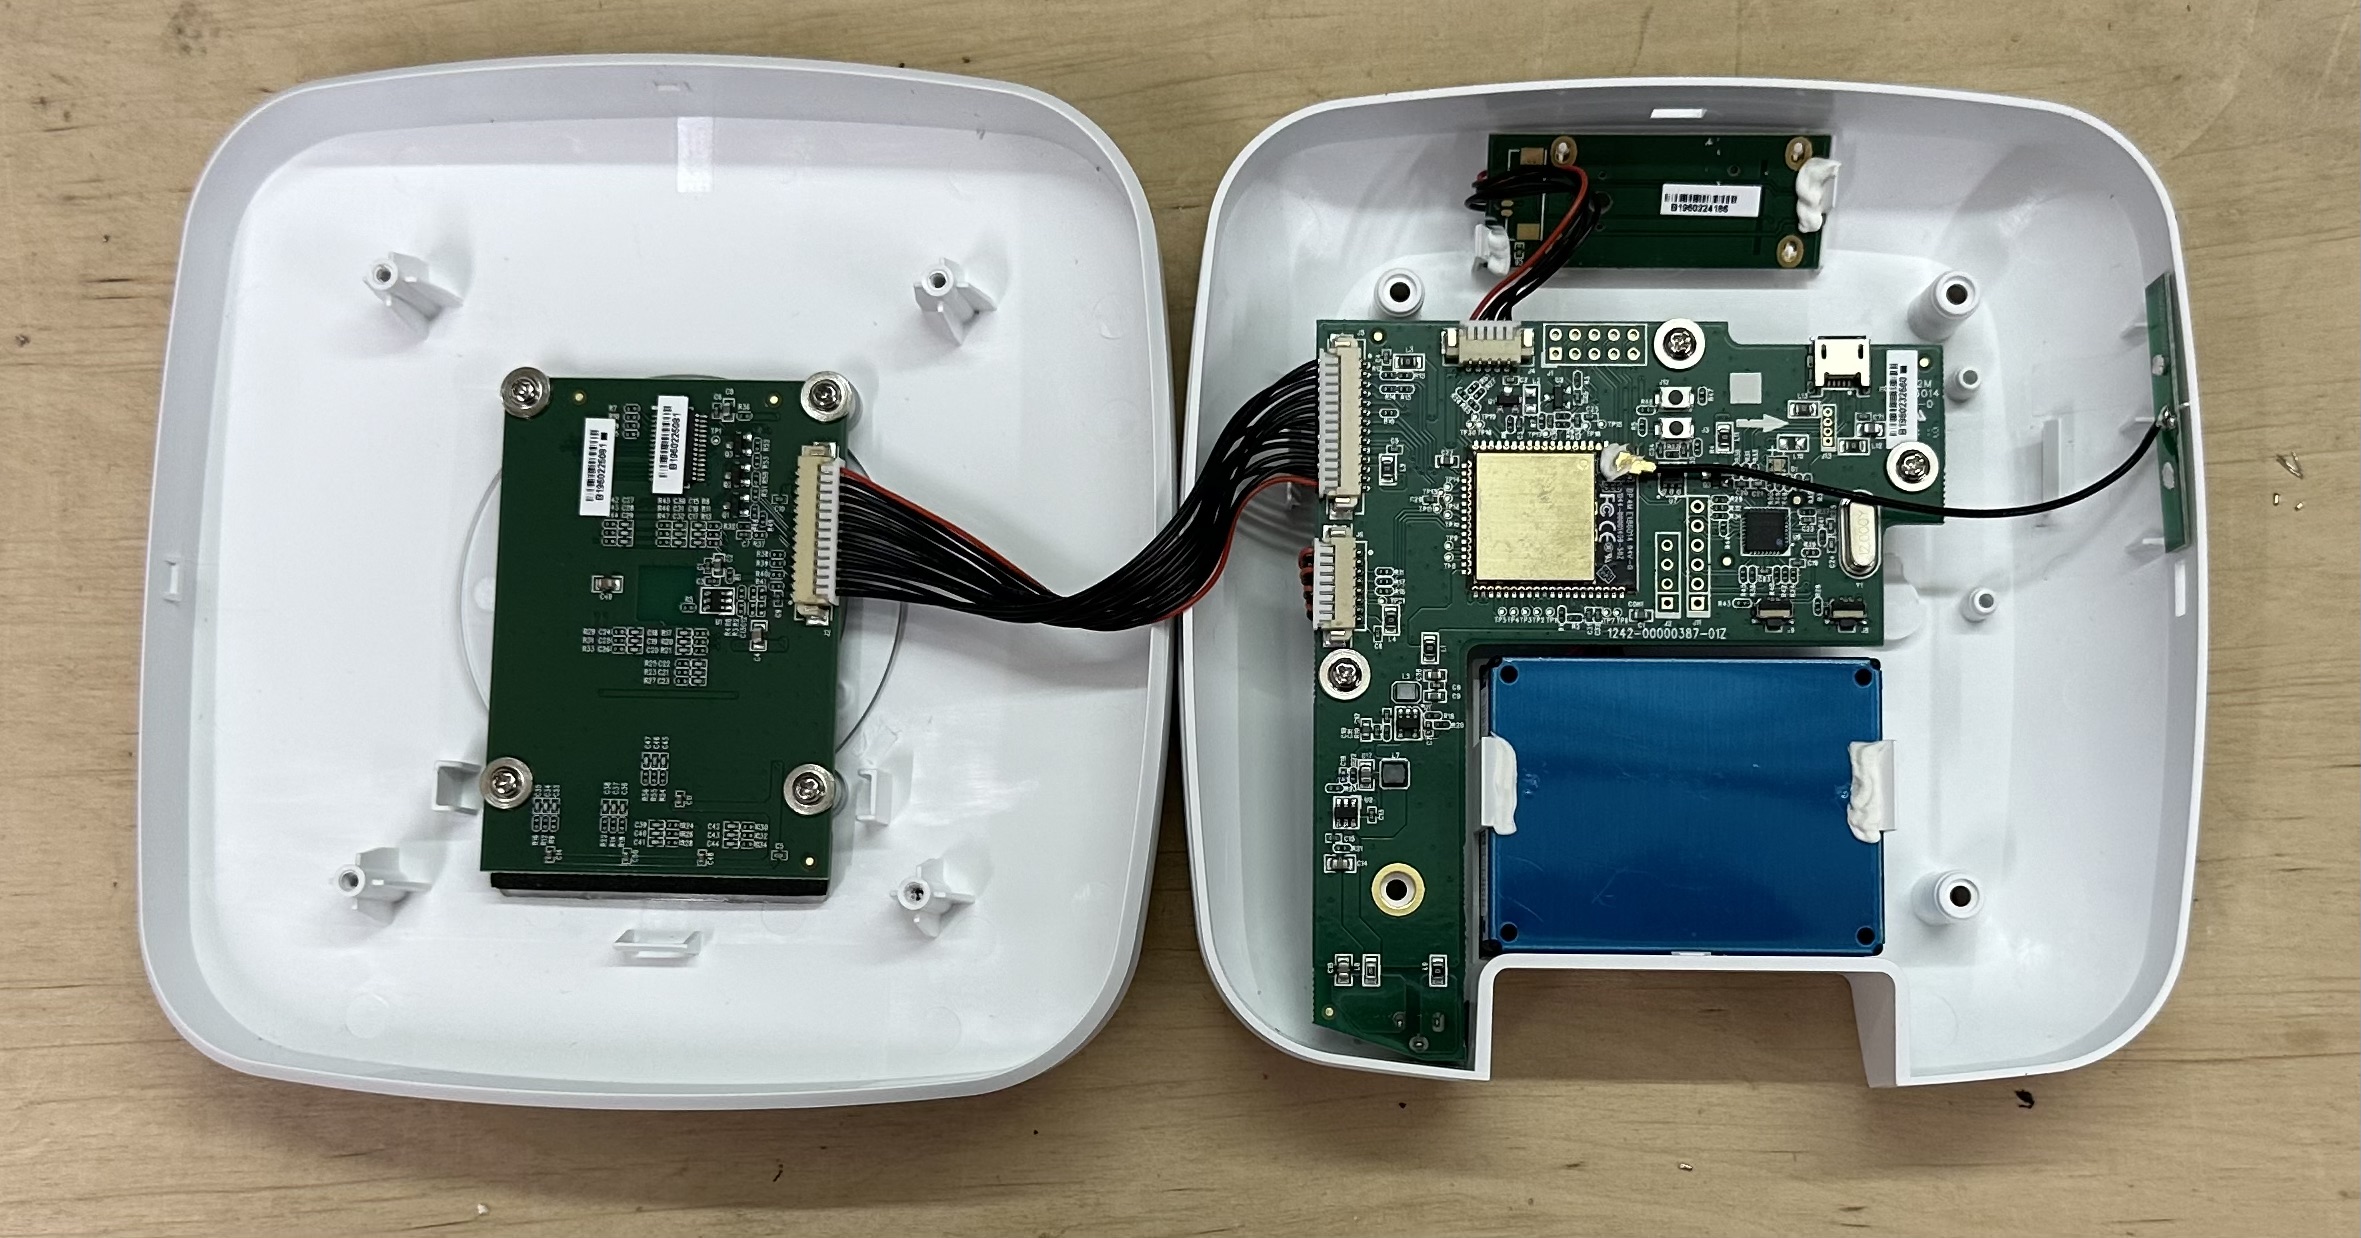
In an act of desperation, I decided to open up the sensor board. Inside, I found the following:
- The main circuit board, which uses a Realtek RTL8195A microcontroller as the brains of the operation
- A small board around the TLC59116F LED driver chip that controls the front LEDs
- A Plantower PMS5003S particulate matter sensor
- A small circuit board containing:
- a MICS-VZ-89TE CO2 and VOC sensor
- a SHT30-DIS temperature and humidity sensor
Most importantly: The main circuit board had a MicroUSB port! After some further research, I learned that this board could be programmed using the Arduino IDE.
This then began a two-week long spree of trying to rewrite the firmware on this sensor in order to even just output the device data via the serial interface, only to discover that the I2C implementation of this board within the Arduino IDE appears to be broken. I also had no way to really revert this board to its original firmware, so I effectively broke it.
Changing the strategy
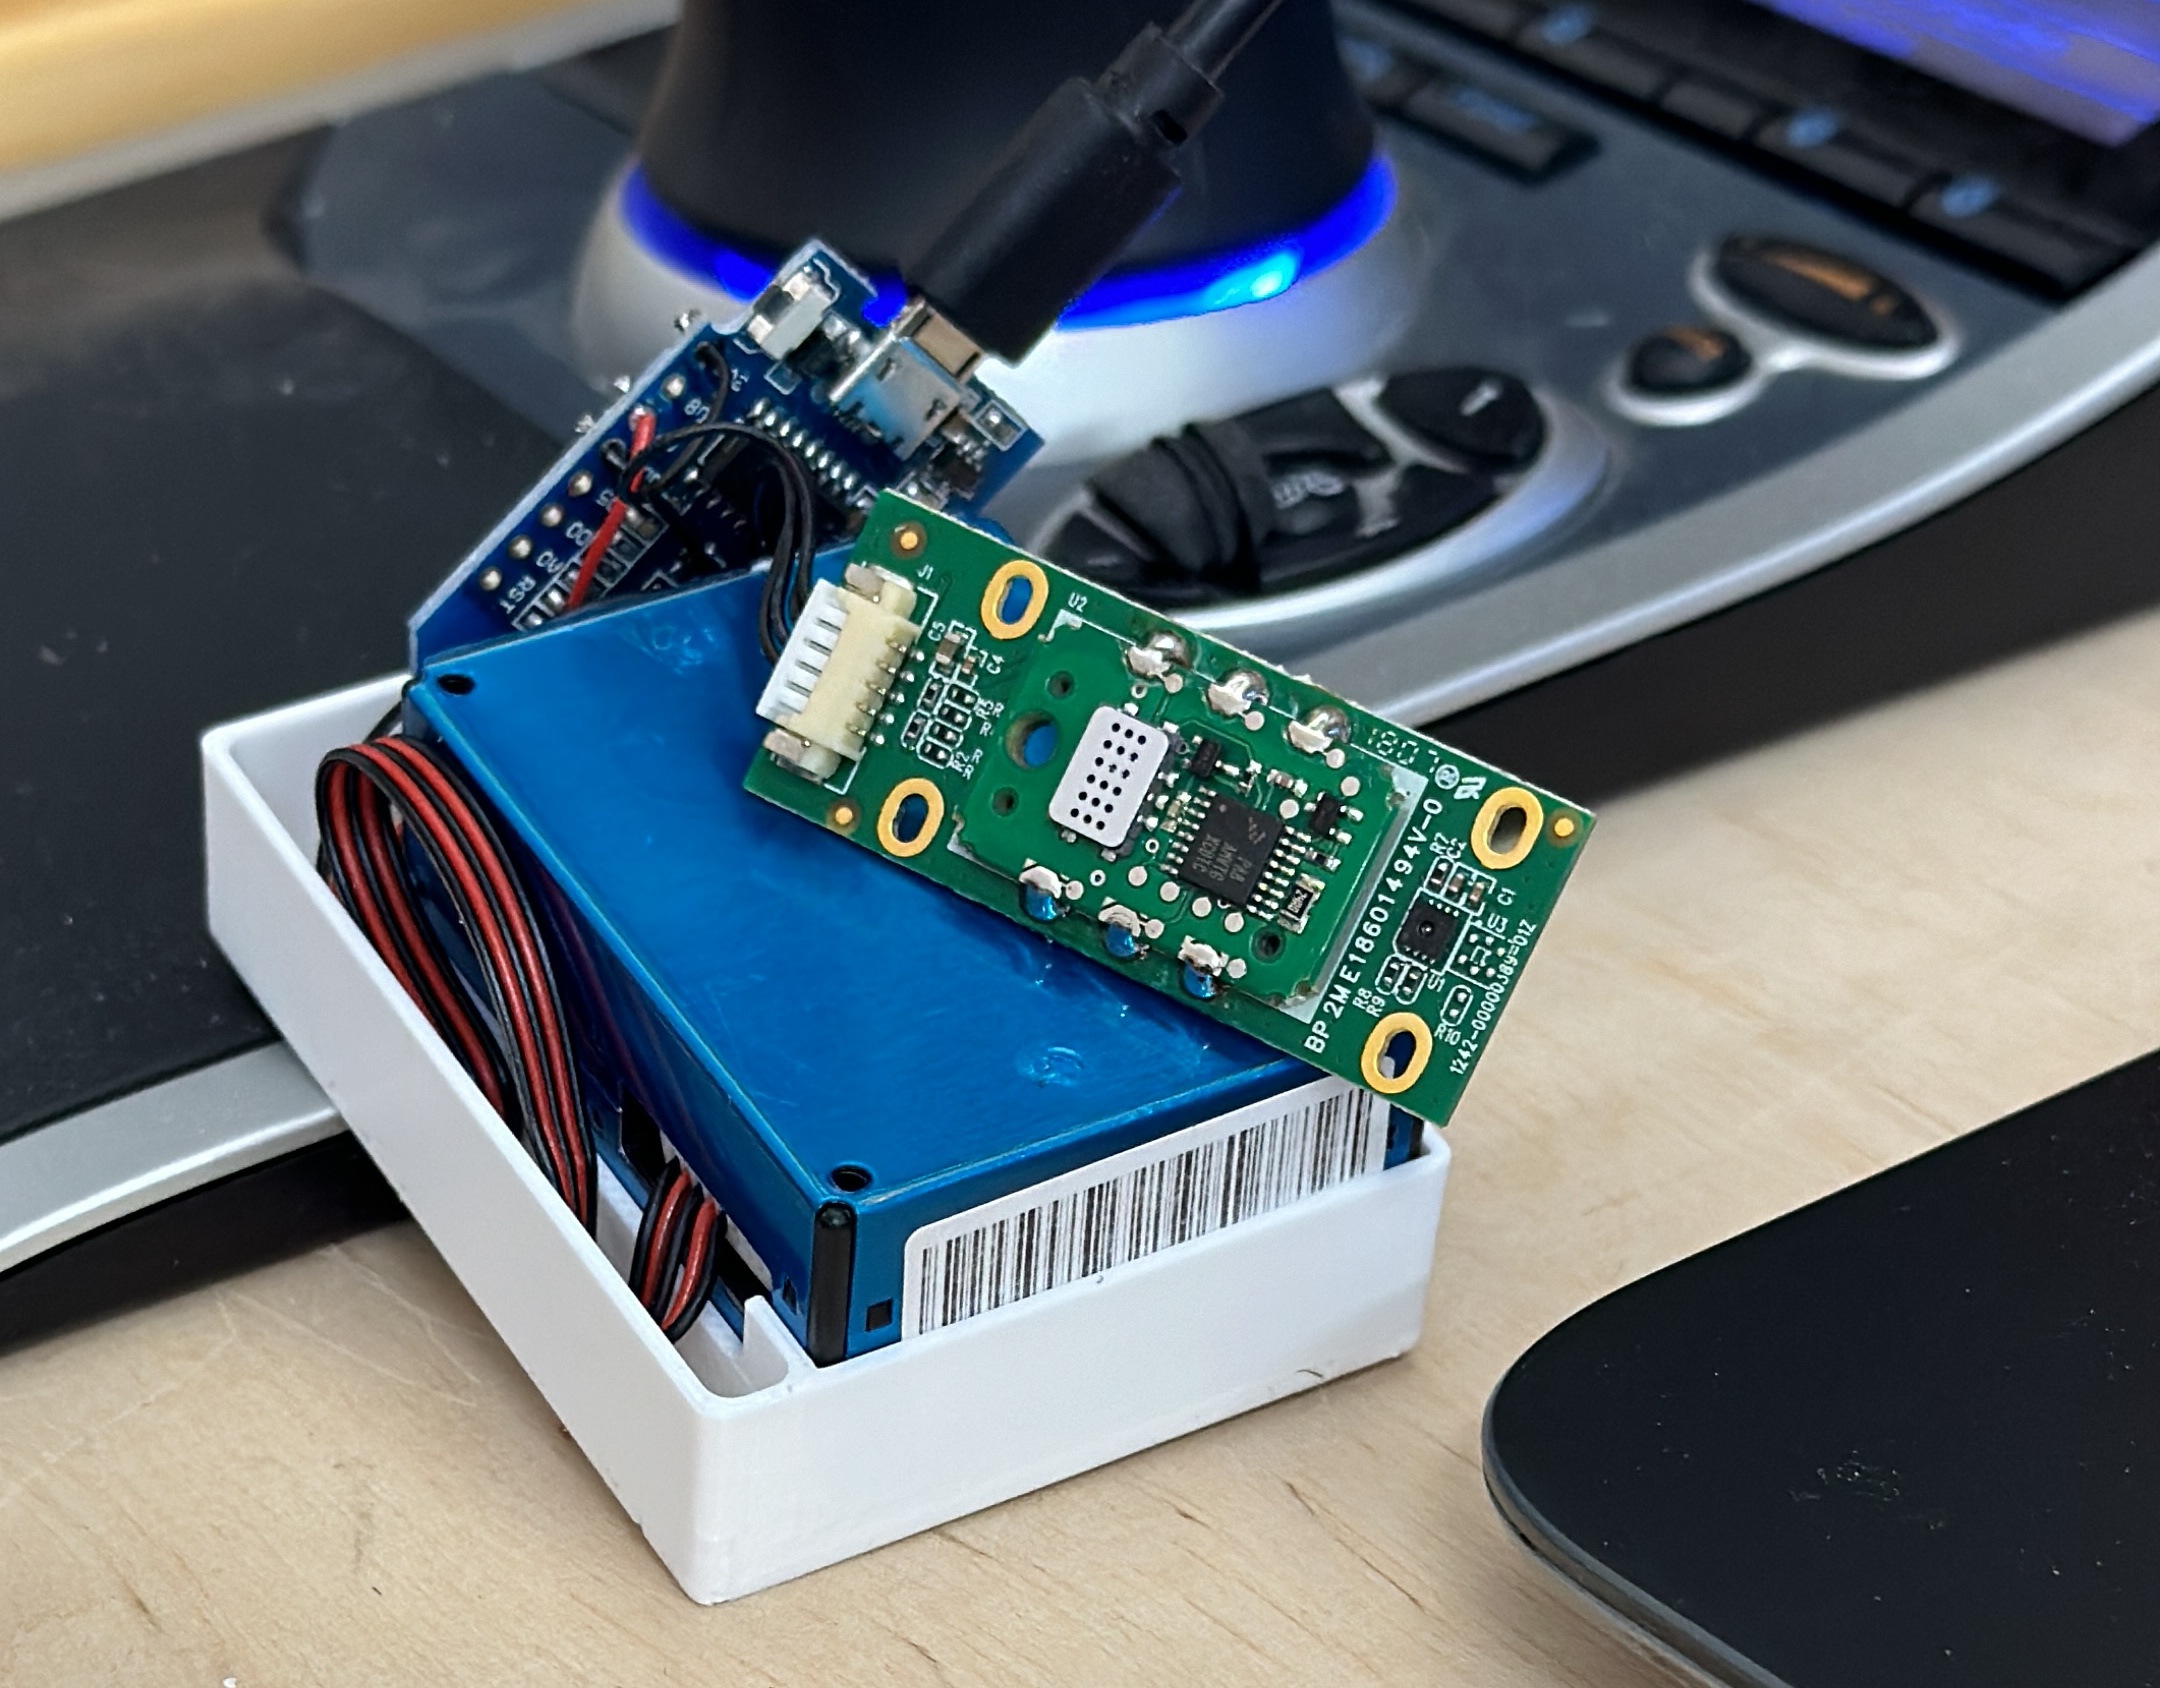
Once I discovered that the I2C implementation for the Realtek board was borked, I decided to replace that board with something more common. In this case, I decided on a Wemos D1 mini, since it’s based around the well-supported ESP8266 chip and is tiny (also it’s what I had on hand).
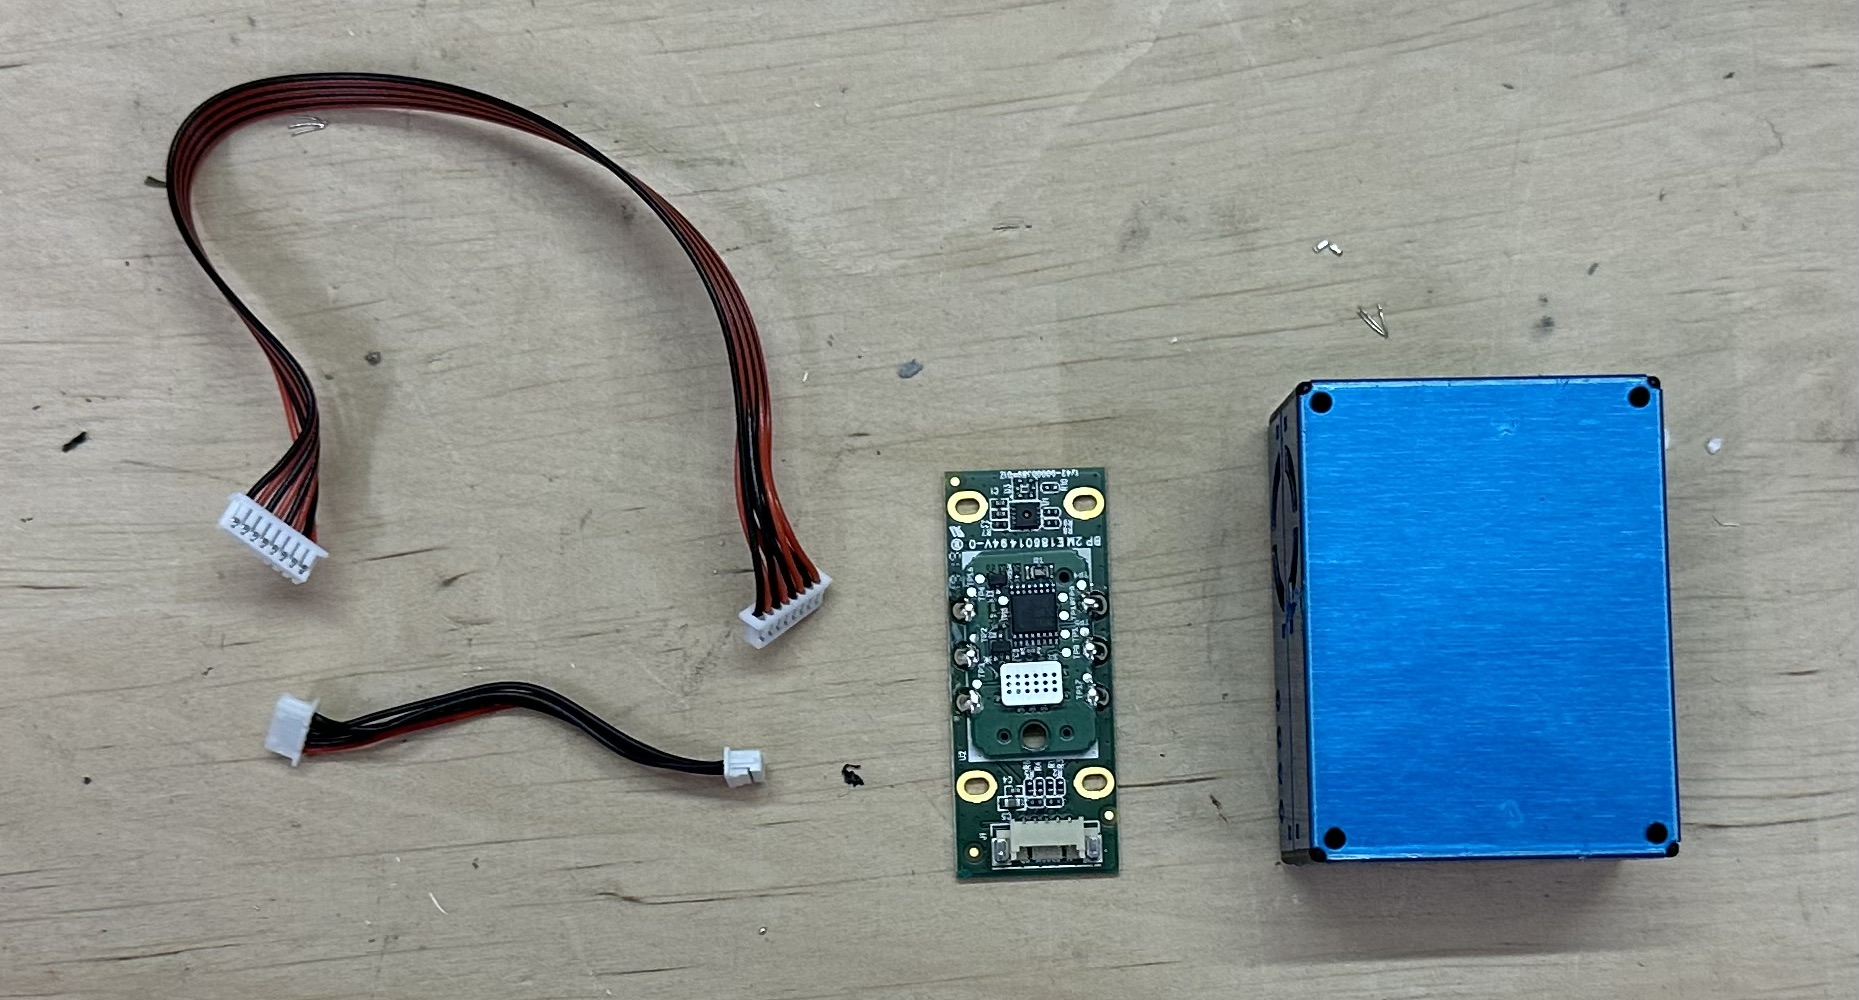
First, I pulled out the two relevant sensor boards. Due to the amount of pins that the LED board exposes, I decided to ditch that board, leaving me only with the PMS5003S and the combination PCB.

The challenge then was to figure out how to connect the two boards to the Wemos D1 mini.
Luckily, the pinout of the PMS5003S is well-understood and documented. This however, could not be said about the proprietary combination-sensor-board that Edimax threw into this thing.
In order to figure out the pinout of the other board, I proceeded by measuring the continuity of traces on said PCB in order to find out what connections go where.
After discovering which connections were which, I soldered the cables of both sensor boards to the new microcontroller. After writing some complementary code to test the sensors, everything worked out flawlessly.
Finale
After learning about MQTT and how things worked there, I managed to successfully write a firmware for the microcontroller that pushes all sensor information to Home Assistant. I’ve pushed the fruits of labor to GitHub in case you want to replicate what I did.
The last thing left to do was to design a case for this amalgamation of PCBs and sensors. Luckily, SuperHouse beat me to it. The only customization I had to do was to add a small hole to the top case piece so that I could mount the sensor board outside of the rest of the case. With that, the sum of all parts equates to ~20€, making it both cheaper and more feature-capable than a modded Ikea Vindiktning!